Showing posts with label swirlydoos. Show all posts

Monday, September 7, 2015

Let's Dance


Today I would like to share some pages I've made with some recent Swirlydoos kits.  

First up is my adorable Aubrey-Sue (I'm definitely not partial or anything) and my hubby all dressed up for the very first daddy daughter dance YEARS ago. I used the Swirlydoos kit from July this year, Belle Fleur,  which was chocked full of Blue Fern's new Deja Vu Collection. My color choice was inspired by Stacy Young....peach and teal

I used Tattered Angels Glimmer Mist in Patina and Aquamarine (One of my favorite color combos) I was a little heavy handed under the photo but the bit on the right is so soft and perfect! Live and learn. There's lots of layers using the wood pieces and journaling cards from the Prima Debutante collection. I thought the wood piece which became my title was absolutely perfect. 


The stamp is inspired by other papers in the kit which have a lamp post image. I decided to add my own with a Leblanche stamp that I've had for years. 


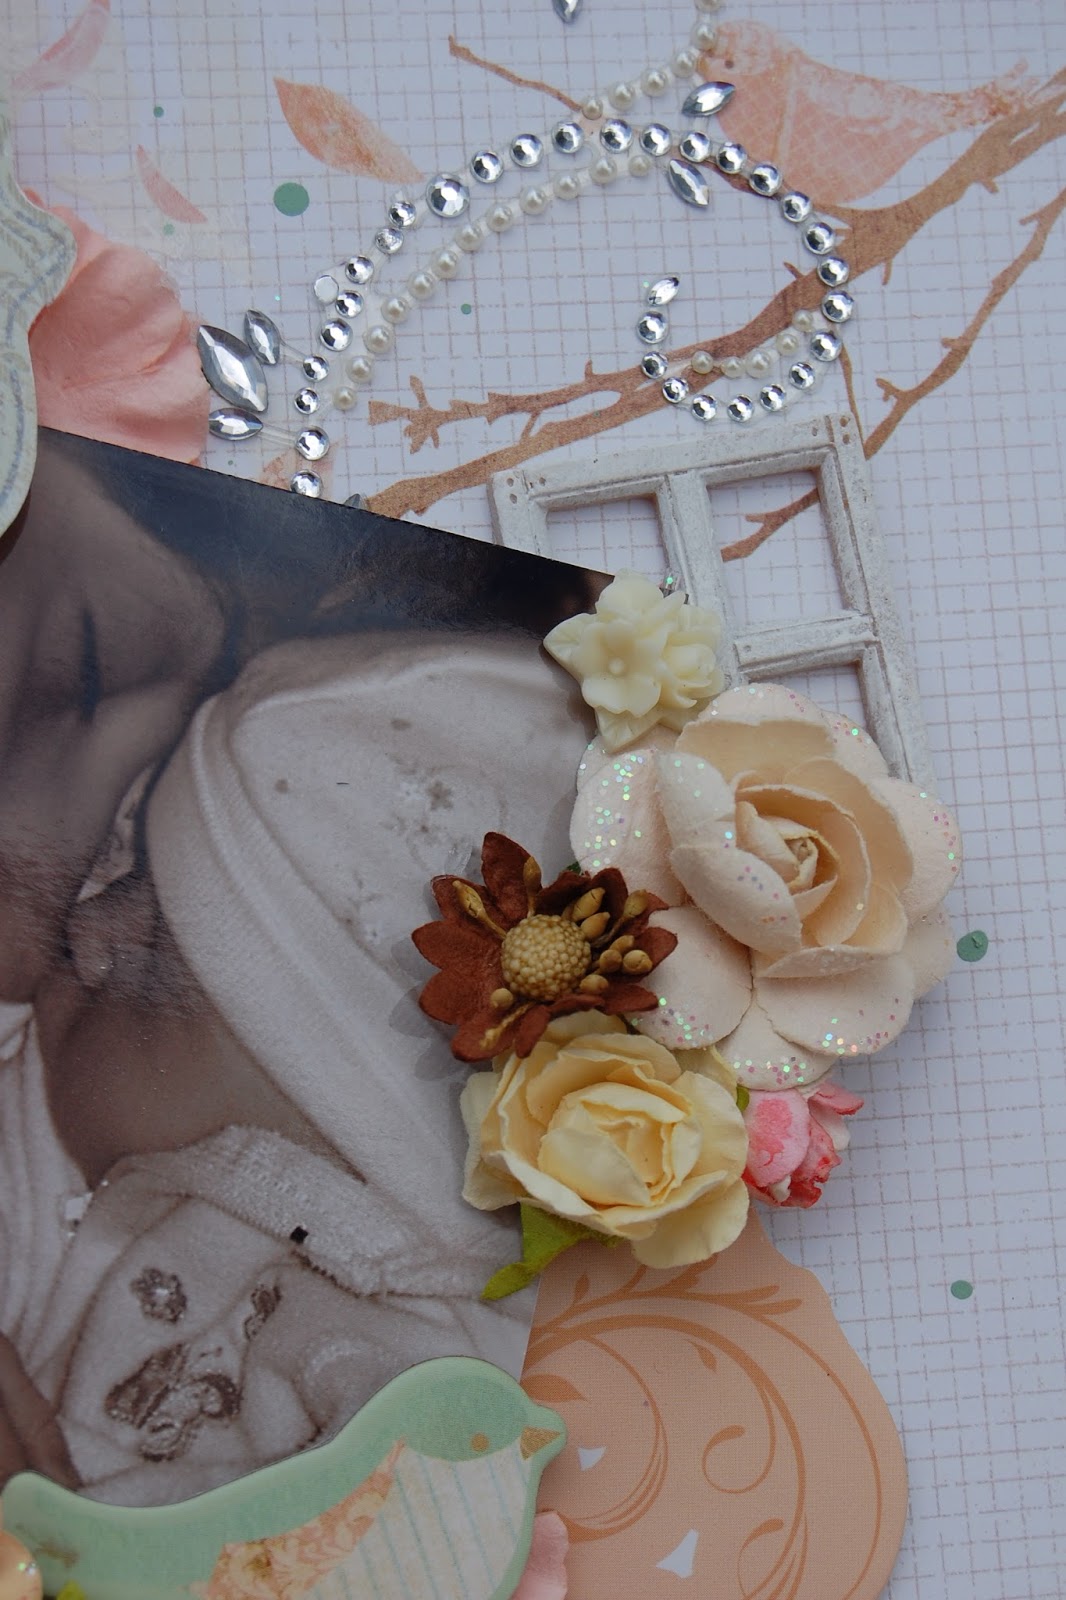
This is a layout made during swirly camp in Bailey Colorado using the same kit...Belle Fleur.  The roses are from previous kits and have this wonderful wax coating that is just amazing. the resin is from a 2013 kits and worked perfect for my weeping angel layout. again, this is the Deju Vu paper line and has so many details that with just some layering you have a magnificent page. 


Hope you enjoyed some of my latest creations! 


{{hugs}}

Andiepants

Wednesday, April 30, 2014

SGC all about me challenge

Hello Blog-land! Wow has it been a crazy month for Andiepants. Lost my mojo for a minute there and had to find it again. My room was soooooo tore up that my crafty GF came and helped me clean my house. Although she only shoved craft stuff into bags it really helped me to focus and cleared my table...all just in time to pack for a getaway where I stayed with my girl Kim...who is the newest member of the Swirlydoos DT!!!!

*Crowd goes wild*

Congrats Kim!!

and while at Kim's I got to do tons of scrapping. To say my mojo came back would be an understatement.

Today I'm briefly going to share with you a LO for the swirlygirls challenge...All about me.


For this LO I used Prima Princess papers, tag, wood embellies, and typewriter keys. While out of town scrapping with my girl I got a ZVA swirl to go with these papers...and it was perfect!! 

The photo is a pic of me that my GF took while I was on my scrappy visit last weekend.

  
I decided for the chandelier that I wanted some of the elements different so I used 2 different embossing powders. Both came in the January swirly kit. I used the Lindy's Hibiscus Rose Orange and Silver moon sapphire. The pink is soft and shabby...not a sharp pink. It blends so well with these papers (WHICH I AM TOTALLY IN LOVE WITH)

The corner piece is painted with gesso and the chicken wire is colored with Distress Markers. 

Thanks for stopping by and prepare yourself...there will be another post tomorrow!

*GASP*

I know right ;)

{{hugs}}

Andiepants

Saturday, December 14, 2013

Wendy Vecchi embossing paste and a Swirly Challenge

Welcome to December!!

WHAT?!

I know right?!

At any rate...mojo took a vacation and now she's back. It's been a really tough month creatively, however I got the privilege...nay the honor...of chaperoning for my 2 oldest boys electronics weekend for boyscouts. 

How on earth does this relate to scrapping?

Well, one of the committee members happens to be a scrapper too (and a pretty great gal to hang with), so she and I were talking one year and decided that the chaperones would scrap while the boys played with their electronics (aka video games). 

Of course walking into a full on weekend after a month's hiatus and no mojo is a pretty daunting experience. Never-the-less I emerged with this:


My brother was just married in June and what a better Christmas present than a home made inspirational canvas for him and his new bride to hang in their home. 

This was also the project that I was able to use for the eP 12 days of Christmas. We were promoting Wendy Vecchi embossing paste...and just what do you think is ALL OVER this canvas?

Make sure you click on my shopping link on the right to head over and check out the special deal for the day!

I adore the combination of colors on this canvas and the way the colors seep into the embossing paste. The tree is actually a piece of Fab Scraps Chipboard from an odl Swirlydoos kit! Crazy huh?

I used Prima's Finn line of vintage papers for the background with TH tissue paper, some washi tape, and some drywall tape. All of my paper flowers are hand cut and made and the zipper flowers are from a roll purchased from Melissa Frances. 

The brown tones on the lower right side are the Donna Downey Unity stamp that I purchased through eP. It's gorgeous but I was a little disappointed that it ran. I do love the shadowy look witht he stark stamping of the black images. What a contrast.


For the lettering I spritzed with smooch so they would stand out from the background a tad. Again I used another piece of Finn paper for the letters which is where the font you can see peeking here and there came from. The quote is actually from a stamp set that I own but I don't remember whom they are quoting.


I finally decided to pop in over at Swirlydoos and see what was going on with my swirly sisters. 

When I saw that my girl Kim was hosting a challenge...I knew I had to join in. What better way to keep the mojo going?

For the November swirly girls challenge we had to use everything but the kitchen sink. No less than 4 different mediums and it had to be inspired from your fav artist. Of course my fav artist is Finn...always has been.

She posted a blog post about a new blanket she bought and fell in love with that inspired her pages. How ironic that I just bought a new fluffy Sherpa blanket that I am in love with too!


This would be my color inspiration for my LO along with Finn's style:


The brown Dylusions spray turned a tad bit rusty colored on this LO but I still love the rust feel of it. All the layers, and the metal, the chipboard, the paper, the pearls....plus that photo!!! Cutest kids EVER!!! (If I do say so myself)  I forced them out to Stepping Stones Falls for a photo shoot one night after school. It was getting dark fast but they all were very good sports. From the photos I have deduced that mommy needs more work with her camera.


I hope you enjoyed the re-emergence of my mojo. I still haven't shared all the lovely creations from my weekend with my eP cronie Erin in WV so there will be lots of blogging to come.

{{hugs}}
Andiepants

Saturday, October 26, 2013

Swirlydoos and eP stacked boxes tissue cozy


Ok...so when I hear the word cozy...I get a little gaggy. Isn't that something that your grandmother crocheted for every kitchen appliance she had? Don't forget the crocheted flowers too ;)

So when I saw a cozy and the words "that's a great idea" came out of my mouth...I felt like perhaps I had been possessed. (this is the part where my head spins around)

Wait...let me explain. I love pinterest (don't we all) and I was just sitting there when this cozy came across my feed. This lady had created the cutest (but a little plain) tissue box cozy that looked like a nice neat stack of books. What a great present for my twins' teacher!

Now I KNOW that I could do something like that Andiepants style so I found another image of altered stacked boxes/drawers that looked like random stacked books with lots of shabby and lots of chic. 

BAM! 
Inspiration

I was going to make a tissue box cozy that looked like random stacked books. I was going to take the main idea from each and combine them to make...an altered box!!!!

VOILA!!!


*pausing for applause*

OK...so how did I make this adorably shabby piece of art?!

Here's a step by step video


and here are printed instructions with photos. 

First I started with poster board. Cut a strip that is about 7" tall x 21.5" long. Starting at one end score at every 5.25" inches. This should leave a 1/2" strip at the end. *Crafty Andie's hot tip: Instead of 7" tall you can make it a tad shorter which will allow you to cover the box using one piece of 12x12 cut in half. Just measure your tissue box.

1. Along each score line measure 1/2" down from the top. Use a ruler/yard stick to connect the bottoms fo these 1/2" lines and then score along this line.  Cut down on each 1/2" line. These you will fold in to make the top of the box.

2. Fold your box together and apply glue to the 1/2" flap. Fold each one of the small 1/2" flaps and glue them to one another. You should now have a box that will cover a tissue box.

3. Decide what sizes you would like your "books". I chose 7"x5.75", 7"x8", and 8x8.5" *Crafty Andie's hot tip! Don't make the top book too small. I ended up with a very small edge to work with which made it very difficult. Next time I would make it a little larger.

4.Once you have figured your sizes, go ahead and cut 2 pieces of posterboard for each size. One piece for the top and one piece for the bottom. You can use a thicker chipboard for this step if you wish your "books" to be a tad sturdier.

5. Organize your "books" starting with the largest on the bottom. figure how you would like them skewed (or lined up straight). Place your tissue box on top to make sure that 1. the "books" will fit around the tissue box and 2. nothing is hanging off the edge. Use a pencil and trace the tissue box on the top book, trace the top book onto the center, and trace the center book onto the last book. *hot tip: because the posterboard bowed outward on the box, I used the box to mark my corners then used a ruler, measured the actual length of the box, and use my ruler and measurements to draw out the shape on the top "book".


6. Use reposition-able adhesive and adhere your book tops to the bottoms. (so when you cut out the square they won't wiggle)

7. Use an exacto knife and cut out the hole for each book set.

8. Now it's time to cover your books. I only had 1 piece of each paper so I had to try to cover both sides of my book. GET 2 SHEETS OF EACH PAPER!!! Trust me on this one.


10. Once all the pieces of your books have been covered, edge them with ink for a semi-distresssed look.


11. Use Mod Podge or Matte medium to wrap your tissue box.


12. Cut the pieces for your book bindings. I did 3 inches for the large one and 2" each for the smaller. Make sure you add an inch overlay for each cover. Therefore...my binding for my big book would be 8.5" long by 5" wide. Punch the corners for a decorative look.


13. Adhere the bindings with the 1" overlap. If the binding pieces overlap into the hole for the box, use and exacto knife to cut them out. 

14. Slide your finished books onto your box and adhere them bottom to top. Then them to the edges of the tissue box. Use a bullet level to make sure they are straight.


15. Adhere your top 


16. Embellish with gorgeous eP embellishments and Swirlydoos flowers and bling and you're done!!!


Papers are by Jillibean soup. You can get some adorable Jillibean embellies from the eP store! Just click on the link under Enabling your obsession to view the full store!


I hope you enjoyed this little tutorial and I hope you decide to try one for yourself.

{{hugs}}
Andiepants


Friday, October 18, 2013

Mixed Media Layout

As my time on the Swirlydoos team winds to a close, the fall weather blows in to Michigan. Warm days mixed with cold morning, frost on the grass and car in the morning, a biting wind blowing through your ears, and gorgeous colors all over the trees and blowing to the ground. 

I had the honor of hosting a most welcomed house guest last weekend. Of course she was one of my swirly girlies and what would a swirly get together be without pictures. She took this gorgeous picture of my daughter and me walking down by the creek...and it was beautiful.


Of course I used the October Swirlydoos kit with those gorgeous papers by Bo Bunny. The chipboard is Dusty Attic and the banner is from the coordinating but outs through Bo Bunny. The flowers are by Prima and were not included in the kit but were a part of my stash. 


I started by printing the photo on transparency and blending the photo into the paper. I then used my Donna Downey stencil from eclectic Paperie and my Wendy Vecchi embossing paste to add the damask over the photo and blended area. The blue texture is Shimmerz 3D paint.


This gorgeous chipboard piece is treated with the Stampendous embossing enamel in aged black.


Here you can see the title I added with my Silhouette Cameo.


Hope you enjoyed this layout as much as I did making it. I hope it inspires you to go something messy;)

{{hugs}}
Andiepants


Saturday, September 28, 2013

More layouts using Swirlydoos Gilted Pleasures


September is coming to a close so I decided to share my last 2 layouts created with the September Swirlydoos kit. I really enjoy are the warm browns and cool blues in this kit. It has been an absolute joy to work with.

The first layout is a picture of my beloved hubby. I loved the houses in the embellishment kit were so cute and country...I wanted to figure out a way to incorporate them in my layout. 


I used glimmer mist in Sunflower, Patina, Suede, and Aquamarine for this LO. I also used my Donna Downey damask stencil from eclectic Paperie for the background. The drips are made with a Tim Holtz reinker in frayed burlap.  I loved the wood feathers that came with this months kit and I was determined to use them so I covered them with Distress glitter in Antique Linen and then sprayed them in a gradient pattern with the same colors of glimmer mist. I LOVE The way it turned out. The title was cut on my Cameo but was a tad lost so I edged it using a Distress marker in walnut.


This layout was created for the round robin over at Swirlydoos. I had to lift the LO's that were done previous to mine.


The punches are all Martha stewart. The chipboard twigs are Dusty attic pieces. I used some glimmer glass pieces from an old swirlydoos kit for the pieces sticking out and the resin piece is a broken chunk from the pieces bin at the Melisa Frances booth! I made the zipper flower myself and the large rolled flowers are made from Prima packaging. The hinge is a really old, and I mean old, stamp set that I stamped on brown card stock, fussy cut, and then covered with inka gold in copper.

It's difficult to see but I did use the Viva modeling cream in pearl with the ledger stencil and on the Dusty Attic berries. It was a perfect combination.


I hope you enjoyed my final layouts with the September kit. Hop over to the Swirlydoos Boutique to grab your kit today. If we are all sold out become a subscriber so you never miss out again!

{{hugs}}
Andie


Saturday, September 21, 2013

Fall Photography Contest

We are so excited!!!


Swirlydoos is having a fall photography contest! Look what you could win!


So bust out those cameras, run outside, and show us what you've got!


Andiepants


Saturday, September 7, 2013

Mod Melts


Happy Saturday Bloggers!!!

Today I'm going to show you 3 different ways that you can color your mod melts from the Swirlydoos tech kit this month.

Don't have mod melts? You can use these same techniques to color resin, textured chipboard, and anything else that you want. 

I'll show you the techniques used here:


and this one here:


Enjoy the video!


Saturday, August 31, 2013

I Challenge You...

Is it truly September already?! The children are going back to school, sports are starting up, church groups and Bible studies are ramping up, community clubs are planning their first meetings, and all this means less time for play, less time for conversation, and less time to pause and just enjoy the moments.

The other day my twins missed the bus and I woke up for work late. Translation...frantic, hectic, and crazy. In all the craziness I kissed my son Colin good-bye and his cheeks were so soft and sweet. While driving from the twins school to work I paused in the silence of my car and reflected on that small simple kiss. I reflected on the moment and remembered other moments snuggling with my children and their soft cheeks. (I  love baby cheeks). I realized how crazy things are going to become and how crazy they are normally around my house. I miss my babies being small. My oldest baby now stand 5'10"!!! I snuggle his chest :( 

That's when I decided what to do for the Swirly Girl Challenge over at Swirlydoos.com for September. I challenge you to close your eyes for just 10 minutes during the hustle and bustle...and just breathe. Think on a quiet moment...a moment of calm...and moment of happiness...and now...scrap it.

I found this picture my DH took of me snuggling and napping with my darling Aubrey Sue when she was just a couple of months old. 


The papers, chippies, bling, and MOST of the flowers are Prima. They were purchased when I attended my class with Anna Dabrowska through Swirlydoos last Spring.


 Here is a close up of the cluster. Where did I get that adorable bumble bee? Check back here on September 5th to find out ;)


I just love these birds and the Ingvald Bolme resin pieces are to die for. 


So rise to my challenge...close your eyes...and just focus on something enjoyable before all the craziness begins for the fall.  

{{hugs}}
Andiepants

Monday, August 5, 2013

Swirlydoos Presents


Swirlydoos presents

Passion Berry


Welcome to Swirlydoos' August Kit Reveal Blog Hop Block Party!! 


If you came here from Angelica's blog, then you are on the right track. If not, go back to Swirlydoos' blog and start from there. We have some amazing projects for you to see today !! Make sure to leave a comment on all of the blogs for a chance to win!!! Check out Swirlydoos on Facebook and Like Us!!!

There is so much PINK in this kit!! I love it! The peacocks and dimensional paint, and swirls...this kit is amazing!!!

This month's tech kit is a 3 piece acrylic wall hanging! I love working with acrylic. You can see step by step how I created this wall hanging, including all my dimensional stamping, on our youtube video.


Here is my FAVORITE page with this kit!


Isn't Rae just beautiful?


This is the page for Anatomy of a layout over at Swirlydoos.com this month. You can make this entire page with JUST the main kit! You can see step by step Here. 


You have until midnight, eastern time, on Wednesday 8/7 to complete the hop. Winners will be announced on the Swirlydoos Blog on Thursday 8/8. In order to qualify to win here is what you need to do:

1: Visit all of the blogs and leave a comment on each. This way we know you were there. Become a follower if you're not already. Take your time. There are REALLY beautiful things to see along the way.

2: Before you leave each blog, look for the “special” words and write it down.Once you have visited all the blogs and collected all the special words, they will create a sentence.

3: Finally, go back to the Swirlydoos blog and leave a comment letting us know how much fun you had, tell us the sentence that was created with all of the special words you collected. Can't wait to hear from you.


My special words are : out the


The party continues over at Lisa's blog. Have fun!


Here is the order and blog addresses:


Swirlydoos CLICK HERE
Rae CLICK HERE
Tara CLICK HERE
Paulien CLICK HERE
Angelica CLICK HERE
Andie CLICK HERE
Lisa CLICK HERE
Back to Swirlydoos!!

Saturday, July 27, 2013

Tattered Angels Pure Mistable Papers


Hello everyone!! Today I want to share with you my experiences with these wonderful papers!! They have such awesome texture and weight...they are wonderful to work with. This month Krissy included in our swirlydoos.com kit a 12x12 piece of brushed cotton and a 12x12 piece of suede. Here I demonstrate how gelatos, Glimmer Mist, and Dylusions sprays work with these papers.


Here's the LO I created in the video above.


Here's a close up of the circles


 3D paint that was included in the mixed media kit this month


The embossed image


Thanks for stopping by.

Andiepants